Rain Gardens
How to Build a Rain Garden
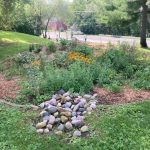
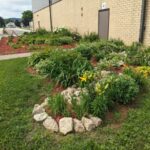
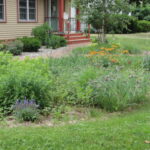
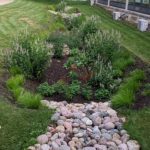
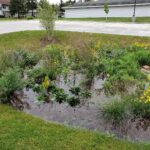
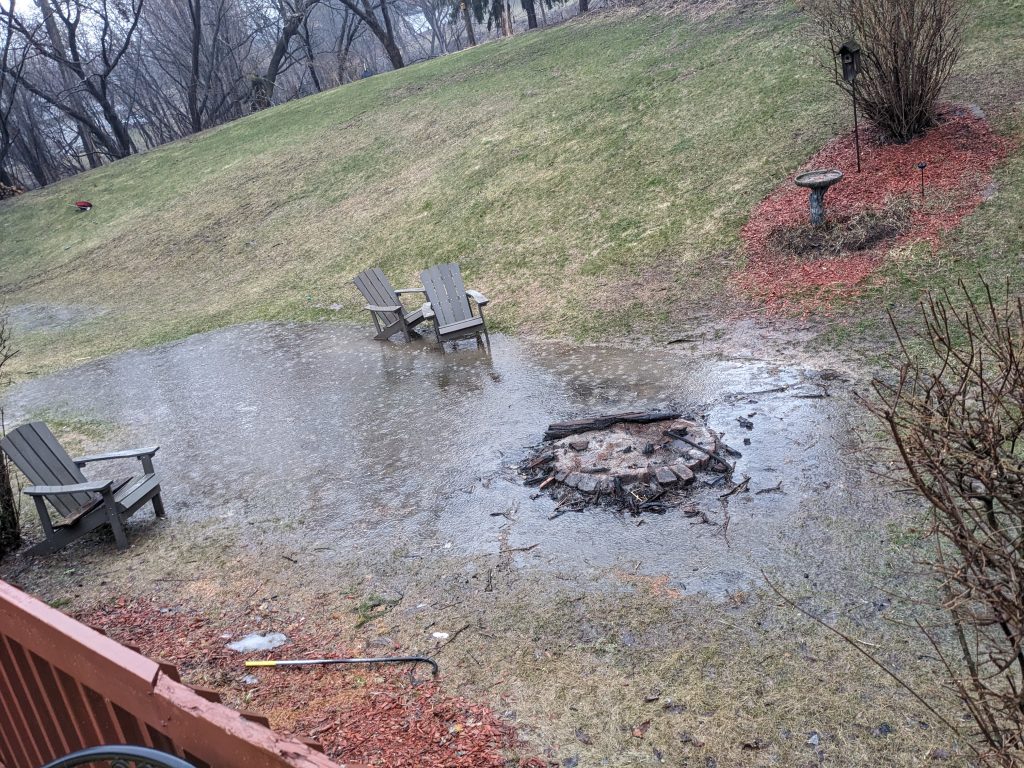
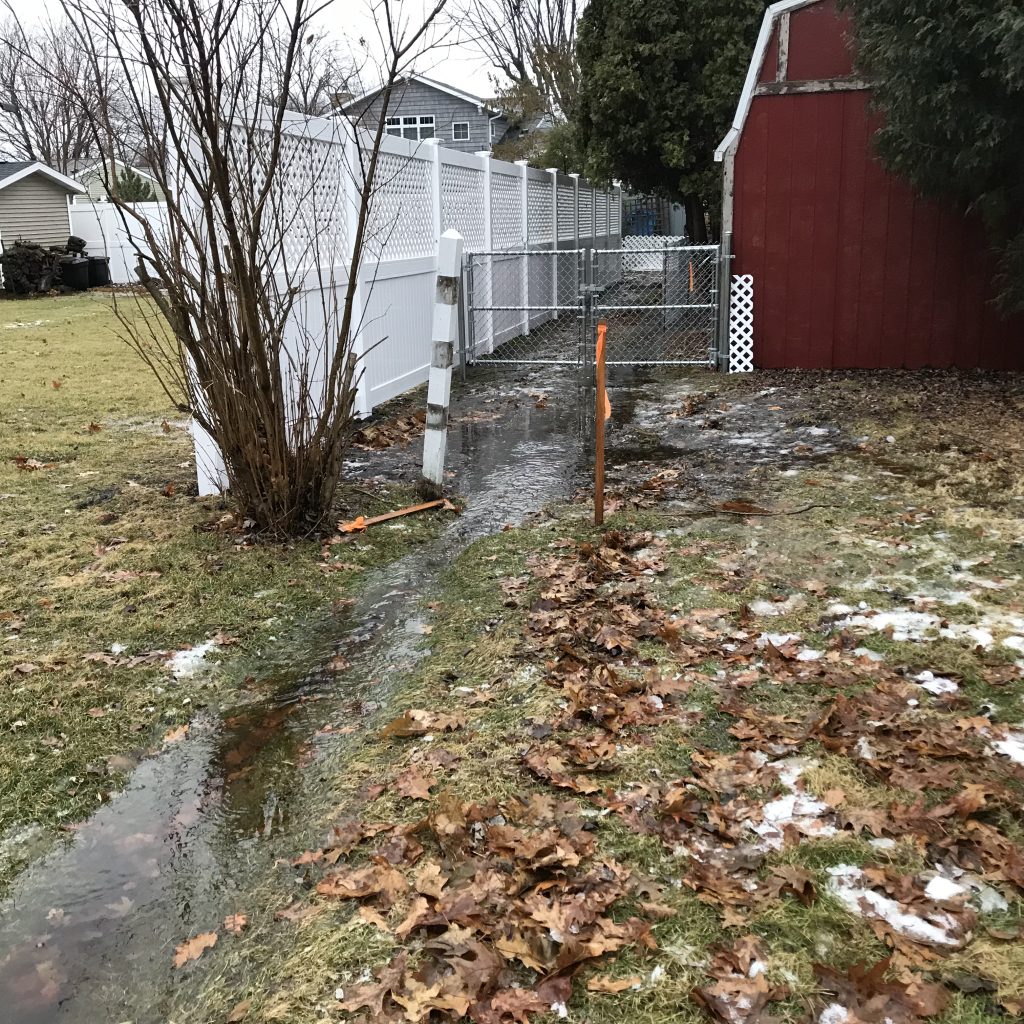
A rain garden is a shallow depression in the ground that is typically planted with native grasses and flowers. Water from your downspout, driveway, or other hard surfaces is directed to the garden, where it soaks into the ground instead of running into the street, storm drain, and river.
Property owners can easily design and build a sunken garden. Do some research and utilize the resources below before starting. If you need additional help, reach out to local contractors, like Coulee Region Ecoscapes or Winona Nursery, who focus on sustainable landscapes.
Project Run-down
-
Select a location
-
Mark your utilities
-
Remove sod and loosen soil
-
Dig a depression
-
Plant native plants
-
Add mulch
-
Direct downspouts
Selecting a Location
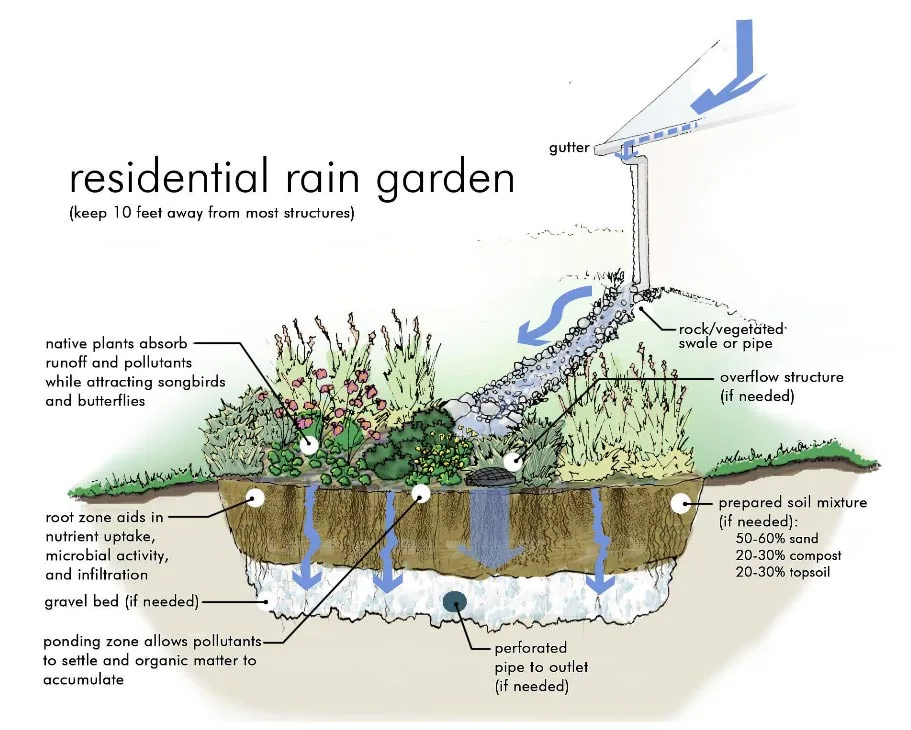
The most logical location for your rain garden is in an existing low spot in your yard.
Place your garden where downspouts will drain into it, directing water with a shallow swale if necessary.
Place your rain garden at least 10 feet from your house or other building to keep water from seeping into and damaging the foundation.
Building a Rain Garden
It’s simple! Follow three easy steps:
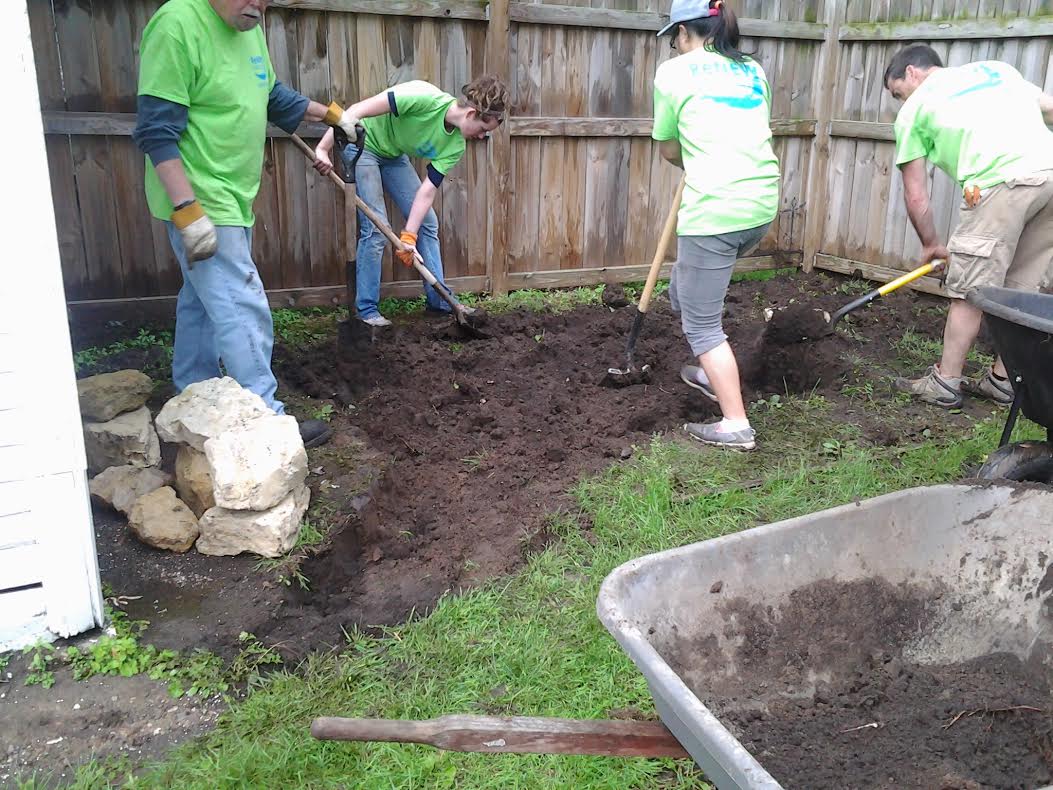
- Start by digging a 4 to 8 inch depression with gradually sloping sides as large in circumference as you like. A good rule of thumb is to size your garden at 30% of the area of the roof from which it will be collecting water. A 4 to 8 inch depth will capture water and allow the garden to dry between rains.
- Loosen the soil and mix in leaves or other organic matter.
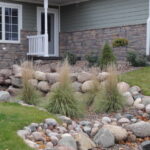
- If you like, add a raised edge, stones, or a few big rocks for visual interest.
Planting
- A rain garden can have just grass or rocks in it, but native plants keep 30% more water in the garden.
- Use plants rather than seeds to give the garden a strong start, minimize maintenance, and keep weeds out.
- Plants that need medium to wet soil go in the deepest part. Plants that like drier soil go in shallower areas around the edges.
- Add 3 inches of untreated, shredded hardwood mulch on all of the bare soil around the plants to prevent erosion while plants are getting established.
- Use our Native Plants section to learn more about what is best for your landscape.
Maintenance
- While your plants are establishing roots, water them about every other day. Continue for the first 2 to 3 weeks or until the plants are clearly growing and doing well.
- Weed well during the first 2 seasons. Well-established native plants minimize competition and future maintenance.
- In the fall and winter, weed the garden and check mulch levels. Do not prune or trim the garden, it will harm the plants and take away habitats for winter bugs and animals. This is also a good time to separate blooming perennials if need be.
- Native plants need little or no additional watering once established.
- Do not fertilize native plants! Fertilizer makes them grow too tall and fall over. It also stimulates weed growth.
- Over many years, soil may fill in the depression of the rain garden in a process called deposition. In order to collect and keep water in the depression, dig out native plants and place them to the side. Then, remove the excess soil and replace your native plants. Voila!
- Check out this complete and thorough care guide from 12,000 Rain Gardens.
See How to Install a Rain Garden
Watch how it’s done! These folks get creative with a rock waterway and little bridge, but those are just frills. The important parts are digging a shallow basin, loosening soil, and directing water to the garden. Click here to watch the video.
Rain Garden Manuals
Download this brochure from UW-Extension.
Download this guide from WI DNR
Download this resource from DOEE

